
Remember this inspiration post? In order to explore the design process, Eric had me take the inspiration I posted and create my own corresponding hand lettering. Generally in my designing for myself I am all over the place, I scribble and arrange and color until I think I have something, but when working with a client there needs to be a concise process to reach the end goal of a strong design that corresponds to the original inspiration. Eric kept me going in one direction, and made sure I kept it simple.
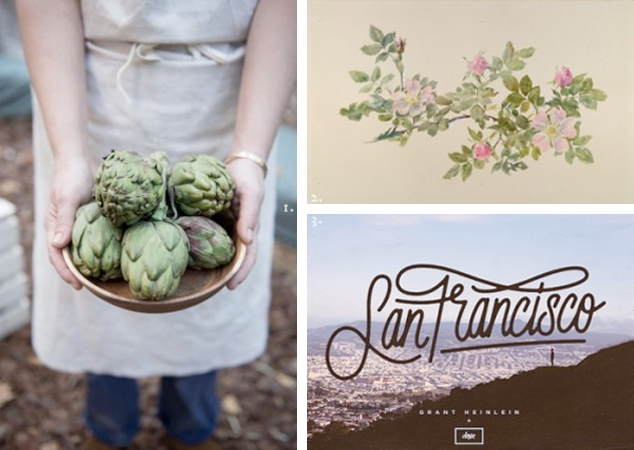
First, I looked at the Junior Bean and San Francisco typography, and I copied it into my notebook. I wrote out a few cursive alphabets (like the ones we wrote as kids!) as a warm-up, and then I jotted down some ideas for the actual words.
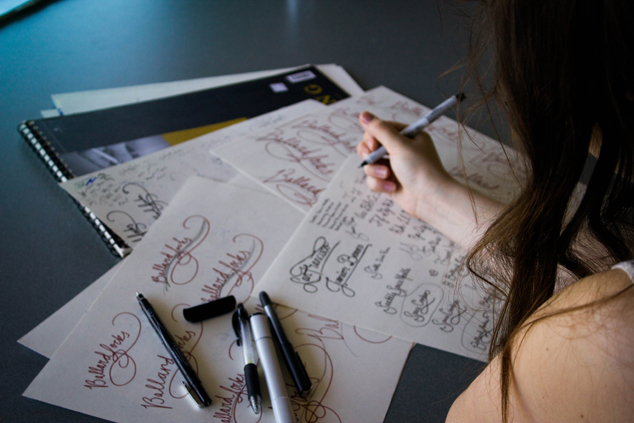
I filled pages and pages with different loops and flourishes to get the right feel of things. I even used a few different types of pens (I liked this one a lot, but in the end I used a generic felt tipped pen). I had several directions I could go with the type, but Eric made sure I stayed on track to the original inspiration, to stay true to the aesthetic we were going for. Rather than moving on, I stuck with the original type and worked out all the kinks to create the best version of the letterforms, while staying true to the original vision.
I scanned my favorite image and opened it in Illustrator. I tweaked it a little bit, and then a lot, and went back and forth, making sure the lettering kept the integrity of the original hand-lettering feel, but also didn’t have a huge amount of texture or hard edges.
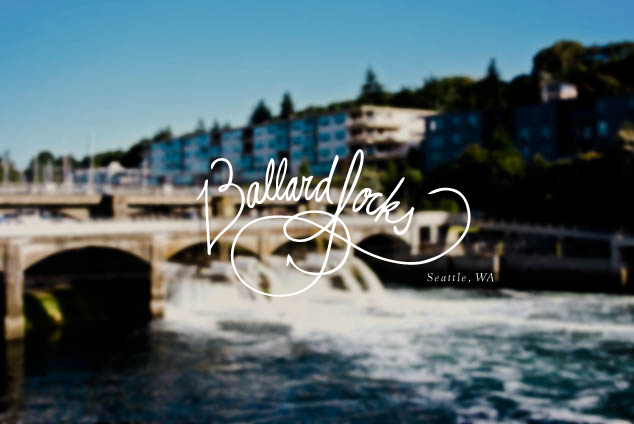
And here is the final product we came up with, alongside an image of the Locks (via). This process showed me the importance of staying on track and keeping things simple. I’m really enjoying this design process, and I’m looking forward to all the projects we have in store.